
Last updated September 24, 2026
DIY vs Professional Insulation: The Schertz Homeowner’s Decision Guide
You can rent a blower-door in San Antonio for about $300 a day. Almost no DIY insulation guides mention this, which means most DIY attic jobs in Schertz are installed without knowing whether the air leaks that govern moisture movement have been closed, or even identified. In a Zone 2A humid climate like ours, that gap in the process isn’t a minor oversight. It’s the difference between insulation that performs and insulation that traps Gulf Coast humidity against your ceiling drywall for years. This guide walks through what a homeowner can safely handle alone, what requires equipment most don’t own, and where the cost lines actually cross.
Quick Answer
Most Schertz homeowners can safely add blown-in insulation depth over an already-sealed attic floor or replace a hatch cover without professional help. Any job that involves spray foam, recessed light sealing, or working above unsealed top plates should include a blower-door test before and after, which requires equipment and training that shifts the value to a licensed contractor. For a typical 2,000-square-foot Schertz home, DIY material costs run $600-$900 for blown-in cellulose, while professional installation with pre-work air sealing and documented blower-door numbers runs $2,800-$4,500.
Table of Contents
- What Separates Competent DIY from Professional Work
- Three Insulation Tasks Safe for Schertz DIYers
- Three Tasks Where DIY Creates Documented Risk
- Texas Licensing and Permit Rules for Insulation
- Honest Cost Comparison: DIY vs Professional in Schertz
- What Documentation You Should Receive
- Common Mistakes to Avoid
- When to Call a Professional
- Frequently Asked Questions
- The Bottom Line
What Separates Competent DIY from Professional Work
The dividing line isn’t skill with a staple gun or willingness to work in July heat. It’s access to a blower-door test, a pressurization reading that shows, in one number, how much air your building envelope is losing.
Here’s why that number matters in Schertz specifically. Our location between San Antonio and New Braunfels puts us in Texas’s Gulf Coast humidity zone. Summer attic temperatures regularly hit 140°F, and the temperature differential between your conditioned space and that attic drives what’s called stack effect, air movement through leaks in the ceiling plane. Every recessed light, wire penetration, top plate joint, and chimney chase is a potential bypass. Blow insulation over those leaks without sealing them first, and you’ve buried the problem under material that now traps moisture-laden air against your structure.
We’ve seen this in Schertz homes from the 1980s and 1990s, especially in neighborhoods like Willow Grove and The Crossvine where builders used poly sheeting as a vapor barrier but left top plates unsealed. The insulation looks fine from the attic side. From below, the ceiling shows brown staining where humid air hit cold drywall every summer for a decade.
A blower-door test quantifies this before any material goes in. The technician depressurizes the house to -50 Pascals, measures airflow in CFM50 (cubic feet per minute at that pressure), then uses theatrical smoke or a thermal camera to locate leaks. After sealing, another test verifies the reduction. Without this step, you’re guessing whether the air sealing worked, and in a humid climate, guessing wrong has consequences.
The equipment isn’t exotic. A Retrotec or Minneapolis Blower Door system rents for $250-$350 daily in San Antonio. The training to interpret results and locate leaks effectively takes longer. A homeowner can learn the basics in a weekend course, but most don’t, which is why the DIY guides skip it entirely.
At Topside Attic Insulation Schertz home, we publish before-and-after blower-door numbers on every applicable job. Not because it’s impressive, but because it’s the only way to prove the air sealing actually happened before insulation covered it.
Three Insulation Tasks Safe for Schertz DIYers
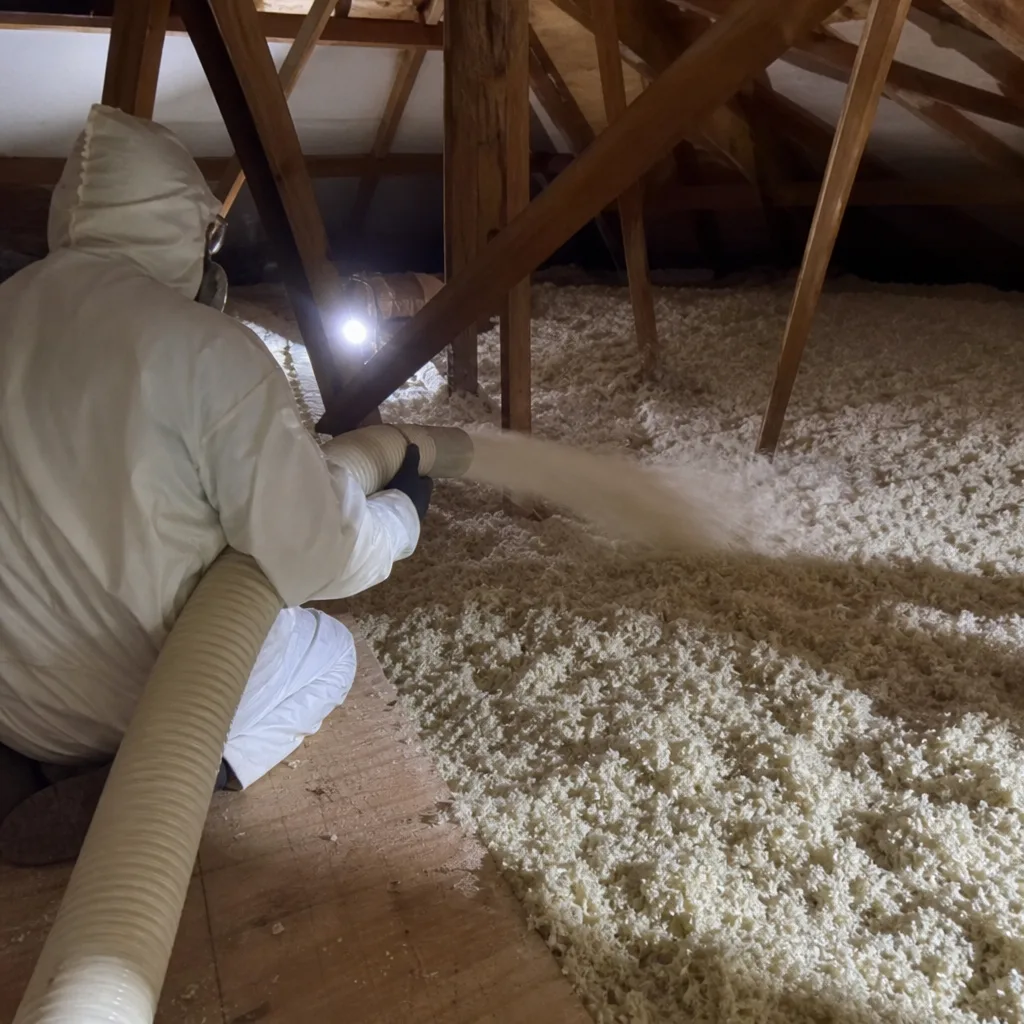
Some insulation work genuinely doesn’t need pressurization testing. These three tasks have low moisture risk, no combustion safety concerns, and don’t bury potential leaks under new material.
1. Adding Blown-In Depth Over an Already-Sealed Attic Floor
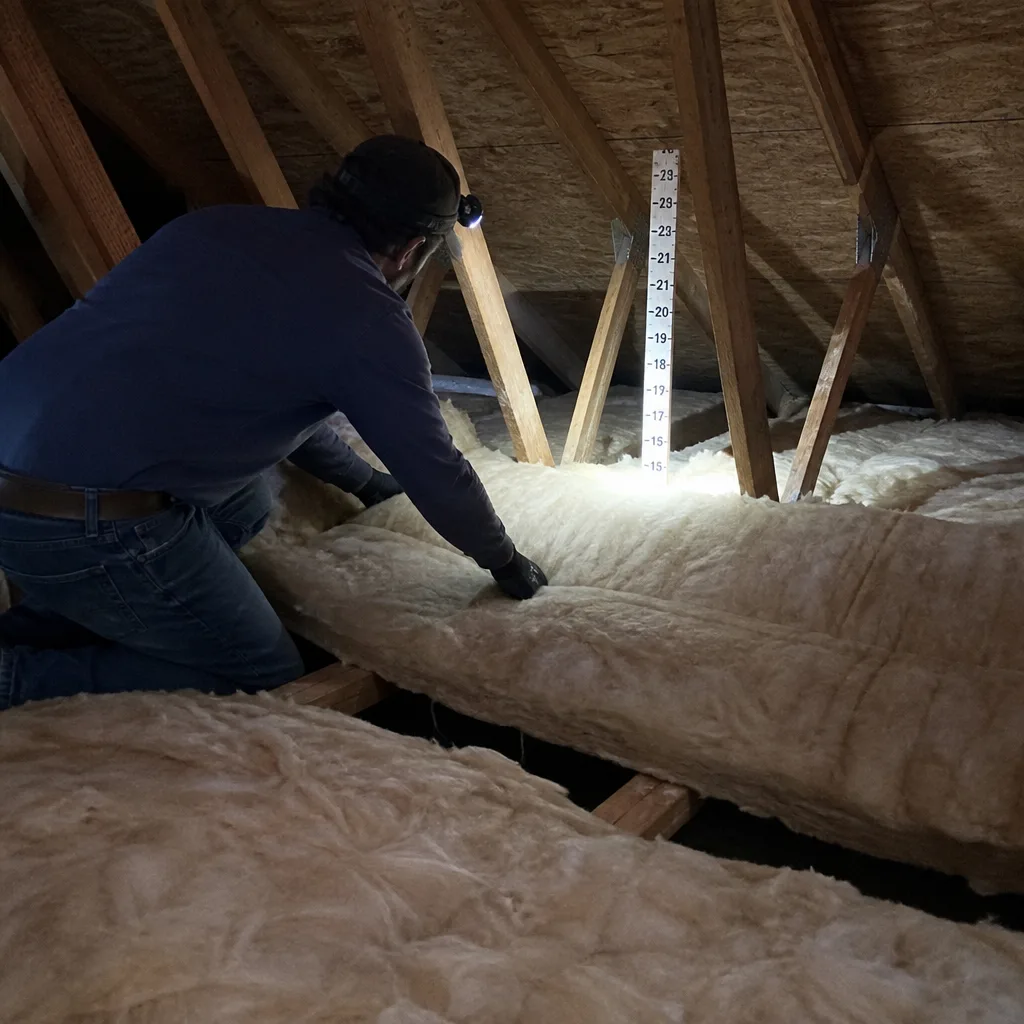
If your attic already has insulation in place, the air sealing beneath it was either done when the home was built or wasn’t. You can’t change that from above without removing material. Adding blown-in cellulose or fiberglass on top to reach current Department of Energy recommendations, R-38 to R-60 for our Zone 2A climate, is straightforward work.
Check three things first: the existing insulation isn’t water-stained (indicating active roof leaks), recessed lights are IC-rated or have proper covers, and you won’t block soffit vents. Rent an insulation blower from Home Depot or Lowe’s in Schertz, Schertz, or Universal City, typically $75-$100 daily. Wear a respirator, not a dust mask. Cellulose from GreenFiber or fiberglass from Owens Corning or Johns Manville runs $12-$18 per bag, with a 2,000-square-foot attic needing 20-30 bags to add R-19 depth.
2. Replacing an Attic Hatch Cover
The attic hatch is often the largest uninsulated surface in the ceiling plane. A pre-built insulated hatch cover with weatherstripping, installed with proper clearance and a latch seal, reduces conductive heat loss without touching anything in the attic cavity. No blower-door required, though you’ll feel the difference in room temperature near the hatch.
3. Batt Installation in an Unconditioned Shed or Garage
Detached structures without ductwork or shared ceiling assemblies don’t have the moisture dynamics of conditioned homes. Fiberglass batts in a Schertz backyard workshop, secured with wire supports and with the kraft facing installed toward the heated side in winter, are low-risk work. The consequences of imperfect installation are comfort issues, not structural damage.
What these three tasks share: none of them bury potential air leaks under new material, none involve spray foam chemistry or combustion appliances, and none require interpreting pressurization data to verify safety.
Three Tasks Where DIY Creates Documented Risk
These are the jobs where we’ve been called after the fact, and where the cost to fix exceeds what professional installation would have run originally.
1. Spray Foam at Top Plates Without Gun Calibration
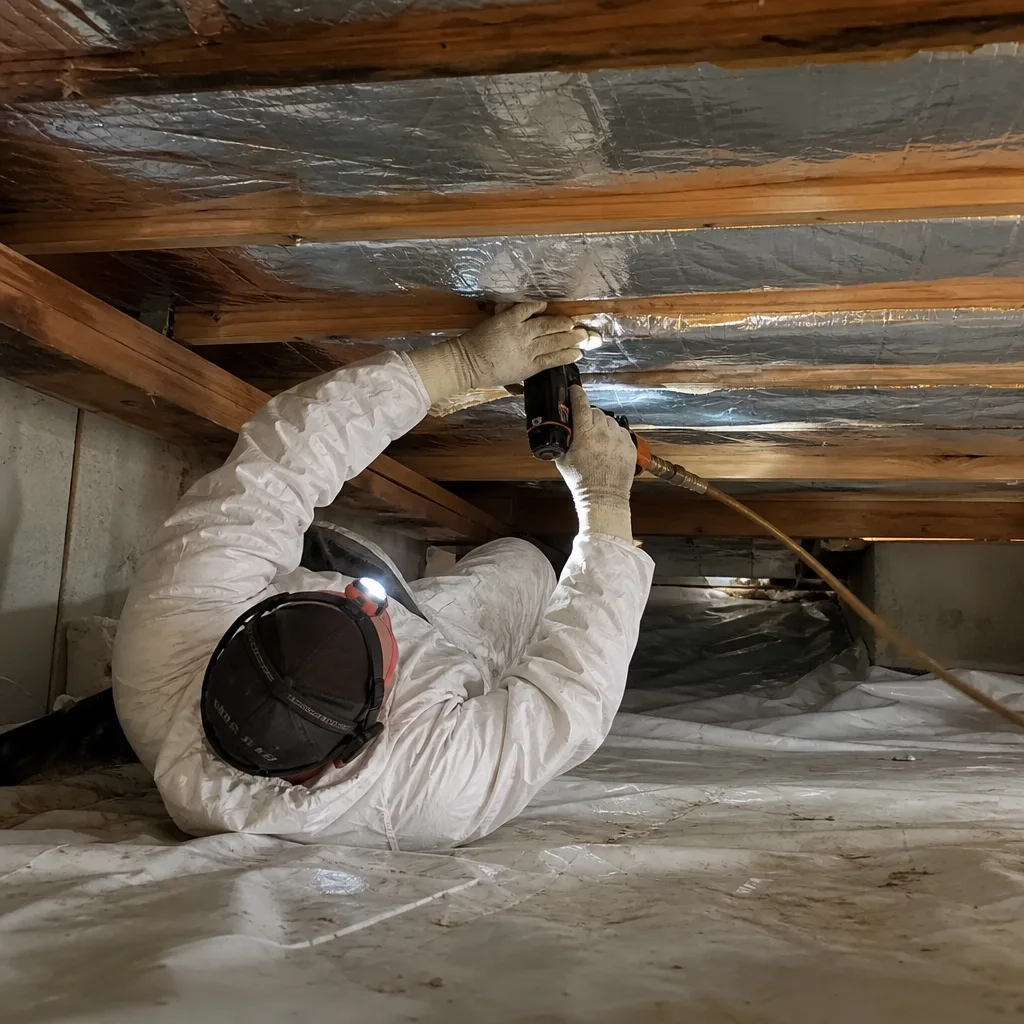
Open-cell or closed-cell spray foam at the wall-to-ceiling junction, top plates, requires a properly calibrated proportioning system. The A-side and B-side chemicals must mix at precise temperature and pressure ratios. Off-ratio foam doesn’t cure properly, stays tacky, and can emit odors for years. We’ve removed failed DIY spray foam from Schertz attics where the homeowner used a disposable foam gun from a hardware store, not understanding that those products are for gap-filling, not structural air sealing.
Professional spray foam installation includes density testing, substrate temperature verification, and documented pass/fail on every batch. At Spray Foam Insulation in Schertz, we use Demilec and Icynene products with certified applicators, and we verify with blower-door numbers after curing.
2. Blown Insulation Over Unsealed Recessed Lights
Standard recessed light housings leak air continuously. Cover them with insulation without sealing the housing or replacing with airtight IC-rated units, and you’ve created a direct path for attic air into conditioned space. In summer, that’s 140°F air carrying humidity and whatever particulates are in your attic. In winter, warm moist air flows upward, condensing on cold roof sheathing.
The proper sequence is: identify light type, replace or cover with airtight enclosures, seal to drywall, test with blower-door, then insulate. Skipping any step buries the problem.
3. Any Work Involving Ducts or Vapor Barriers in Humid-Climate Attics
Schertz’s location in the I-35 corridor means summer dew points regularly hit 70°F. Flexible ductwork in attics often leaks at connections, pulling attic air into supply systems. Adding insulation around ducts without pressure-testing the duct system first can hide leaks that waste 20-30% of cooling capacity. Similarly, installing vapor barriers on the wrong side of the assembly, or using impermeable materials where permeable ones are needed, traps moisture against sheathing.
We’ve found mold on roof decking in Schertz’s Live Oak area homes where well-meaning homeowners laid polyethylene sheeting over existing insulation, thinking they were adding a vapor barrier. In our climate, that traps upward moisture migration.
Texas Licensing and Permit Rules for Insulation
Texas doesn’t license insulation contractors at the state level the way it licenses electricians or plumbers. This surprises many homeowners. Here’s what actually governs the work.
The Texas Department of Licensing and Regulation (TDLR) licenses air conditioning and electrical contractors. Insulation falls under general contractor authority, which means any business with a registered contractor status can legally perform it. However, local jurisdictions add layers that matter in Schertz.
Guadalupe County, where most of Schertz sits, requires permits for insulation work that involves structural modification, spray foam application, or changes to the thermal envelope of new construction. Remodel insulation in existing homes often doesn’t trigger permitting unless the work is part of a larger renovation with structural or electrical changes. But here’s the critical point: permit inspection, when it occurs, verifies code compliance on material type, fire rating, and installation depth. It does not verify air sealing quality. A permitted job can still have unsealed top plates and pass final inspection.
This gap between code compliance and performance is why we publish blower-door numbers. Code says R-value. Physics says airtightness. A home can meet code and still leak conditioned air at rates that make the insulation investment perform poorly.
For DIYers, the permitting question is simpler: if you’re adding loose-fill over existing insulation in your own home, no permit. If you’re spray foaming, cutting into assemblies, or working in a home you don’t occupy, check with Guadalupe County Development Services. And understand that permit or not, the absence of a blower-door test means you’re not verifying the actual performance of the work.
Honest Cost Comparison: DIY vs Professional in Schertz
Here’s the math that most cost guides omit: the blower-door rental and the value of the air-sealing labor.
DIY Blown-In Attic Insulation, 2,000 sq ft Home
| Item | Cost |
|---|---|
| Cellulose insulation (25 bags, GreenFiber or equivalent) | $300-$450 |
| Insulation blower rental (1 day) | $75-$100 |
| Respirator, gloves, eye protection | $40-$60 |
| Blower-door rental (optional but necessary for verification) | $250-$350 |
| Air sealing materials (caulk, foam, weatherstripping) | $80-$150 |
| Your labor (12-16 hours including prep and cleanup) | Not priced |
| Total DIY with verification | $745-$1,110 |
| Total DIY without blower-door (most common) | $495-$760 |
Professional Installation with Air Sealing and Documentation
| Item | Cost |
|---|---|
| Pre-work blower-door test and leak identification | Included |
| Air sealing of top plates, penetrations, can lights | Included |
| Blown-in insulation to R-38/R-49 (Owens Corning, Johns Manville, or Knauf) | Included |
| Post-work blower-door test with documented readings | Included |
| Documented Photo Record of all work areas | Included |
| Written scope, written price, written warranty | Included |
| Total professional, 2,000 sq ft Schertz home | $2,800-$4,500 |
The crossover point depends on house size and complexity. For homes under 1,200 square feet with simple attic geometry and few penetrations, DIY with rented blower-door can approach cost parity if your time is valued at zero. For homes over 2,500 square feet, or any home with recessed lights, multiple HVAC penetrations, or complex framing, the professional route covers more ground faster and includes documentation that affects resale value.
In Schertz’s newer neighborhoods like Pasadera or the established homes near FM 3009, we’ve found that the air-sealing labor alone, done properly, takes 6-10 hours for a typical attic. Most DIYers underestimate this by half. The blower-door rental, if you do it, reveals leaks you wouldn’t find by visual inspection alone. Without it, you’re working blind.
What Documentation You Should Receive
Whether you DIY or hire out, know what leaving looks like before anyone starts. This is Haven Standard practice, and it’s how you verify you got what you paid for.
From a professional insulation contractor in Schertz, you should receive:
- Written scope before work starts, itemizing what areas will be insulated, to what R-value, with what material, and what air-sealing steps precede insulation.
- Written price matching that scope, with no contingent add-ons. Under Haven Standard: flat price, written scope, written warranty before anyone lifts a tool.
- Pre-work blower-door reading, in CFM50, with the target reduction noted.
- Post-work blower-door reading, showing actual reduction. A 30-50% reduction is typical for homes that hadn’t been air sealed previously.
- Documented Photo Record of work areas, including before and after of air-sealing locations. This is standard on every job, not available on request.
- Written warranty with duration and coverage terms.
For DIY, replicate what you can. Photograph every area before you cover it. Note the date, material type, and bag count. If you rent a blower-door, photograph the meter readings. This documentation matters when you sell, when you need to troubleshoot comfort issues later, or when you realize you need to add more depth.
We’ve provided Attic Insulation in Schertz services to homeowners who had no record of what the previous owner installed, when, or how thick. They were guessing at R-value based on ruler depth, which doesn’t account for settling or compression.
Common Mistakes to Avoid
- Installing insulation over active roof leaks. Brown staining on existing insulation means water is getting in. Adding material hides the problem until structural damage requires sheathing replacement. In Schertz, where hail and wind-driven rain are common, inspect roof penetrations first.
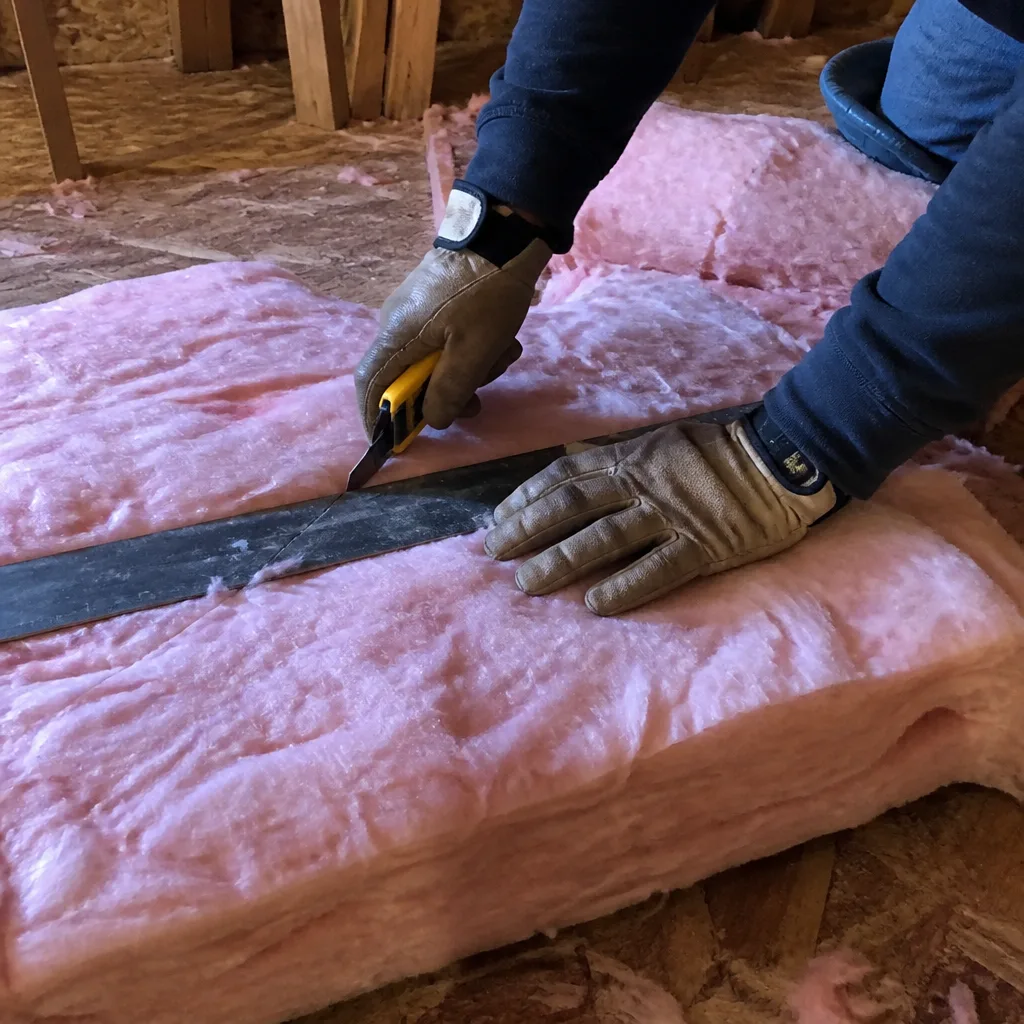
- Compressing batts to fit. Fiberglass and mineral wool (Rockwool) achieve their R-value through loft, trapped air between fibers. A batt compressed into a cavity narrower than its designed width loses 20-40% of rated performance. Cut to fit, don’t stuff.
- Blocking soffit vents with insulation. Attic ventilation in our climate removes moisture and reduces shingle temperature. Baffles, proper vents, or rafter vents maintain the airflow path from soffit to ridge. Every Schertz home we’ve audited with winter moisture issues had blocked soffit ventilation.
- Using the wrong vapor barrier orientation. Kraft paper facing goes toward the heated living space in winter. In Schertz’s cooling-dominated climate, this matters less than in northern zones, but reversed facing in a mixed assembly can trap moisture. When in doubt, use unfaced batts and let the assembly dry to both sides.
- Ignoring recessed light type. Non-IC (insulation contact) housings require 3 inches of clearance from insulation. IC-rated airtight housings can be covered. Most Schertz homes built before 2010 have non-IC housings. Covering them with insulation is a fire hazard and an air leak.
- Skipping the attic hatch. It’s often the largest single thermal bypass in the ceiling plane. A piece of plywood with insulation laid on top isn’t a seal, it’s a loose filter. Proper weatherstripping and insulated covers are available from Owens Corning and Johns Manville.
- Assuming more insulation is always better. Beyond R-60 in our climate, returns diminish sharply. Money spent on excessive depth without addressing air sealing is money spent poorly. We’ve seen R-70 attics in Schertz that still leaked 4,000 CFM50 because the top plates were never sealed.
When to Call a Professional
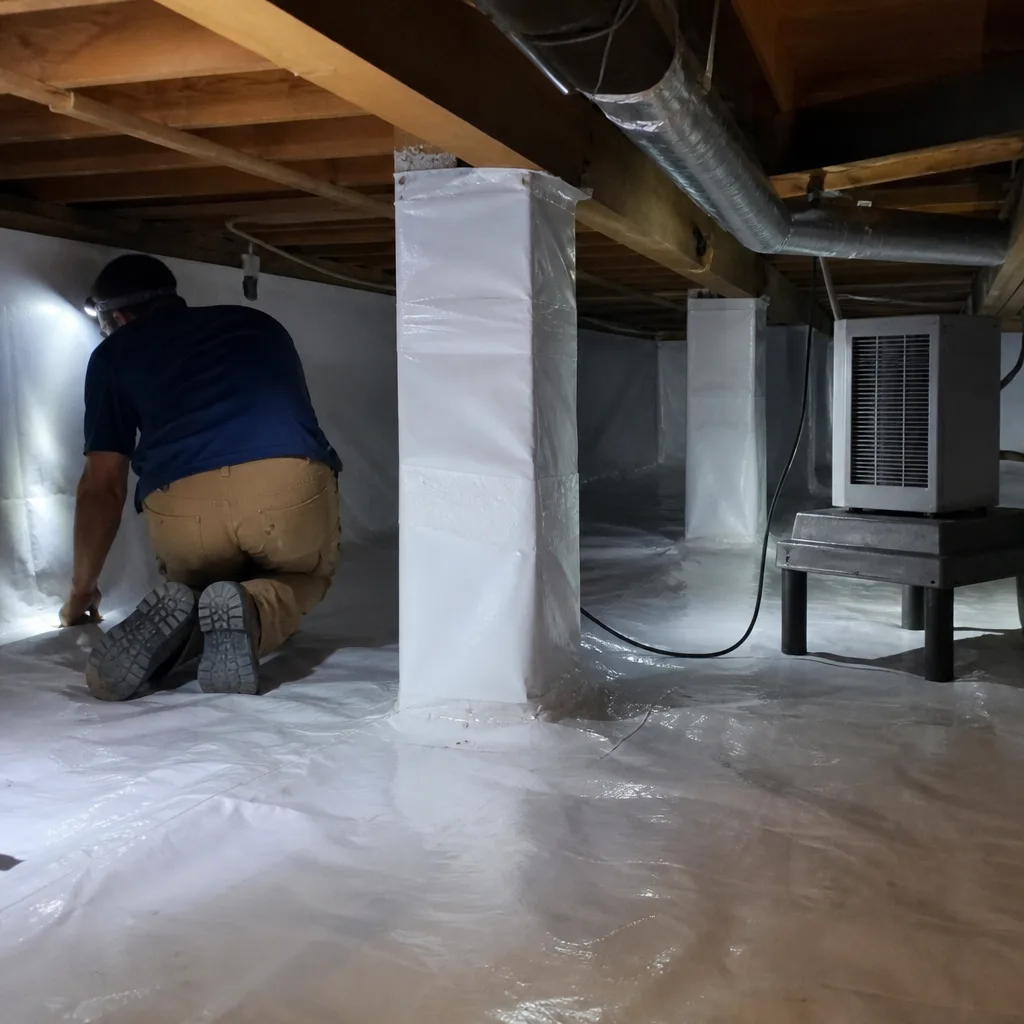
Call a professional when the work involves spray foam chemistry, when you’re burying potential air leaks under new material, when your attic contains HVAC equipment or ductwork, or when you can’t verify air sealing without equipment you don’t own. The cost of fixing moisture damage or removing failed foam exceeds professional installation by multiples.
Crawl Space Encapsulation & Vapor Barrier in Schertz and attic work share this principle: the building envelope is a system, and insulation is only one component. Air sealing, moisture management, and ventilation have to work together, especially in our Gulf Coast climate.
Topside Attic Insulation Schertz offers free estimates in Schertz. We’ll review your attic’s condition, provide a written price before any work starts, and explain what documentation you’ll receive. Call (830) 402-5240 to schedule.
Frequently Asked Questions
DIY blown-in cellulose for a 2,000-square-foot attic runs $495-$760 without blower-door verification, or $745-$1,110 with it. Professional installation with pre-work air sealing, post-work blower-door documentation, and a written warranty runs $2,800-$4,500. The gap narrows for smaller homes and widens for larger or more complex attics. Call (830) 402-5240 for a written price on your specific home, estimates are free.
Technically yes, but we don’t recommend it. Two-component spray foam requires precise temperature and pressure calibration, proper respiratory protection, and substrate preparation that most homeowners haven’t trained on. Off-ratio foam fails to cure, creates odor issues, and removal costs 3-4 times installation. In Schertz’s humidity, failed foam also traps moisture against framing. This is one task where professional certification matters.
Adding loose-fill insulation over existing material in your own home typically doesn’t require a permit in Guadalupe County. Spray foam application, structural modifications, or insulation work on new construction does. Check with Guadalupe County Development Services if you’re unsure. Note that permit inspection verifies code compliance, not air sealing quality, which is why blower-door testing remains important even on permitted work.
Department of Energy recommends R-38 to R-60 for attics in Zone 2A, which includes Schertz. Most homes built before 2010 have R-19 to R-30. Adding depth to reach R-38 is usually cost-effective. Beyond R-60, returns diminish unless air sealing is addressed first. In our experience auditing Schertz homes, the comfort improvement from air sealing often exceeds the improvement from adding insulation over R-30 without sealing.
Signs include: dust streaks around recessed lights or ceiling registers, cold drafts in winter despite closed windows, rooms that won’t maintain temperature, or energy bills disproportionate to home size. The definitive method is a blower-door test, which quantifies total leakage and locates individual bypasses with smoke or infrared imaging. Without this test, you’re estimating based on symptoms. Call (830) 402-5240 and we’ll run the test, show you the readings, and explain what they mean for your home.
Blown-in cellulose or fiberglass is faster for attic floors and fills irregular joist cavities better than batts. Batts are easier to install correctly in wall cavities with consistent spacing. For attic work, blown-in is the better DIY choice if the floor is already sealed and you’re just adding depth. For walls or kneewalls, batts with proper cutting and support are more forgiving. Owens Corning and Johns Manville both make products suited to either application.
The Bottom Line
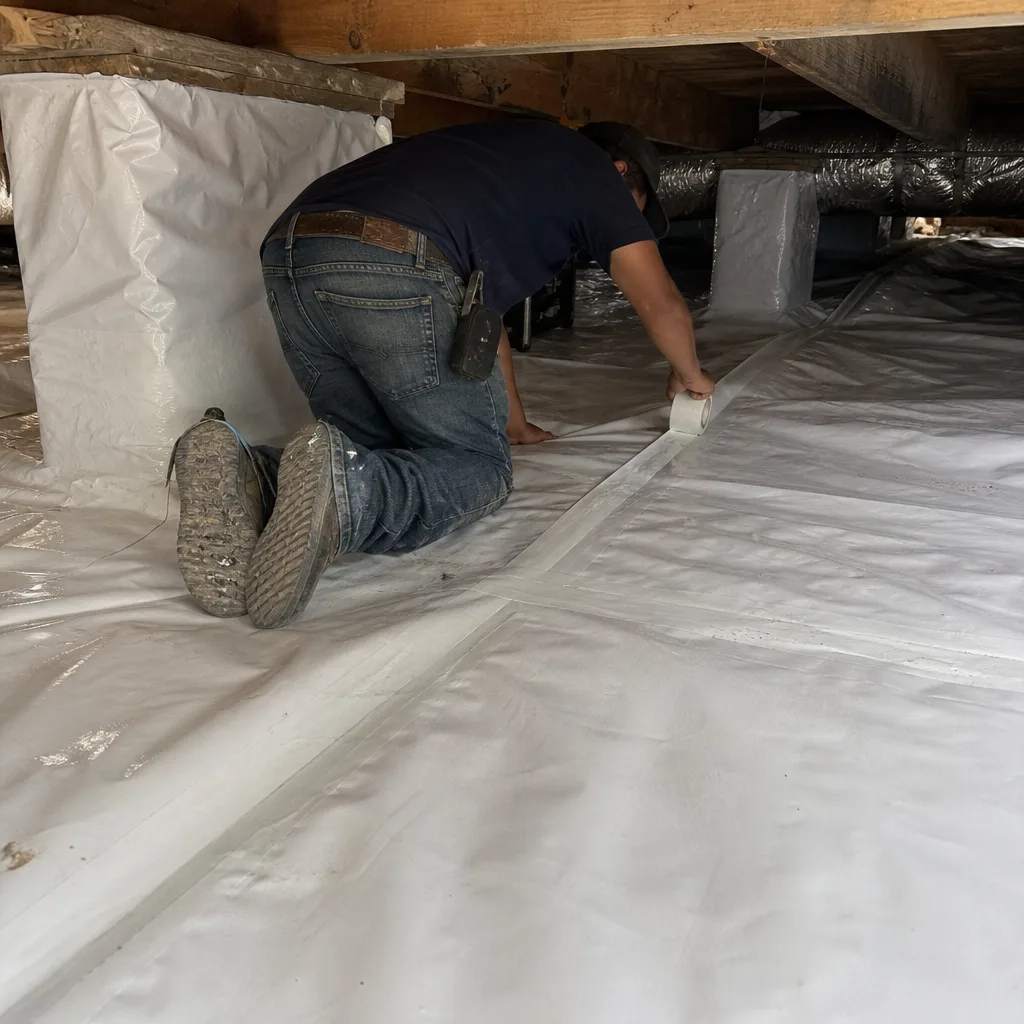
The DIY insulation question in Schertz comes down to verification, not capability. Adding depth over a sealed attic floor is genuinely accessible work. Anything that buries potential leaks, involves spray foam, or touches your duct system deserves blower-door testing that most homeowners won’t rent and interpret. The cost crossover for professional work happens faster than most guides admit, once you value the air-sealing labor and include the equipment rental. Read How to Hire a Insulation Contractor in Schertz: A Step-by-Step Guide to compare options. In a humid climate, unsealed insulation isn’t neutral. It’s a moisture trap waiting to show itself as staining, mold, or structural damage. Document what you do, or hire someone who will document it for you.
Written by Wes Okafor, Owner at Topside Attic Insulation Schertz, serving Schertz since 2016.